Playing Starfield is an exhilarating experience, filled with epic missions and intense battles. However, there are times when you crave something different. Something that provides a break from the relentless action, yet still engages your mind. And that’s where building a ship and outpost comes in. Let’s dive into how you can enter Build Mode in Starfield and begin creating your own unique structures.
A Step-by-Step Guide to Enter Build Mode in Starfield

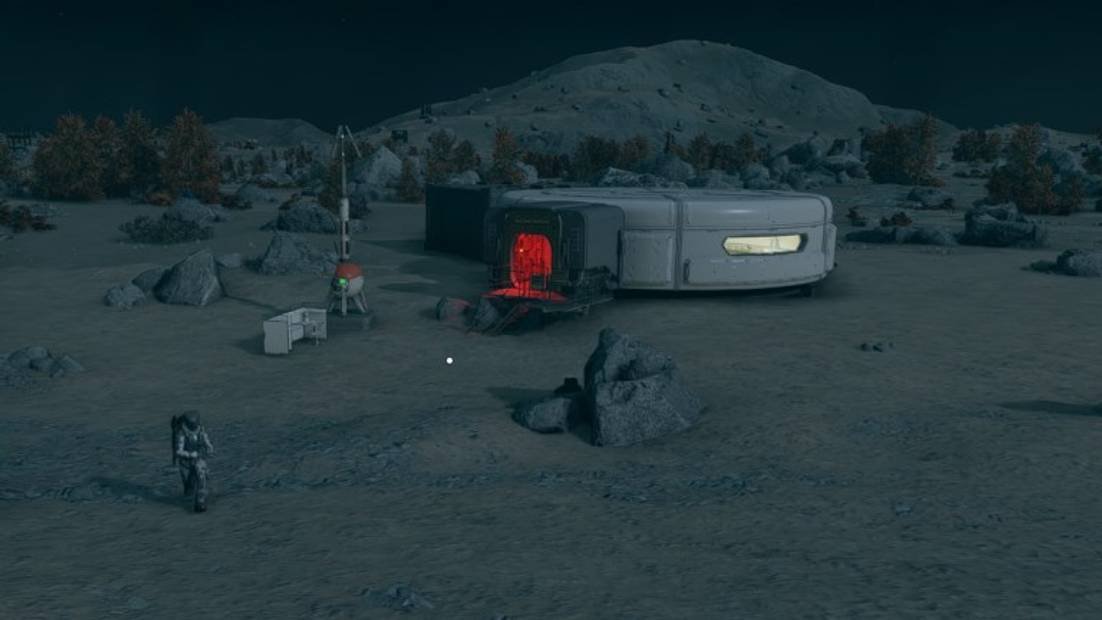
Discover the thrill of building outposts in Starfield
If you’re an avid Starfield player, you’ve probably spent countless hours exploring the vast universe and embarking on exciting adventures. But have you tried your hand at building outposts? This guide will walk you through the process step by step, ensuring a seamless experience and allowing you to create stunning structures that will leave your fellow players in awe.
To begin your outpost building journey, it is essential to have an Outpost Beacon. Locate the beacon placement key in the scanner and ensure it is present. Once you have placed the beacon, approach it and press the ‘E’ key on your keyboard or the ‘A’ button on your controller to enter Build Mode. To exit Build Mode, simply press the ‘Escape’ key or hold down the ‘B’ button.
It’s worth noting that you may encounter difficulties accessing structures within your outpost while in Build Mode. To resolve this, switch from Build Mode to Modify Mode by pressing ‘Tab’ or the ‘B’ button. From there, you can safely open doors and navigate your outpost’s structures by pressing ‘E’ or the ‘A’ button.
Important considerations when building an outpost
Creating an outpost in Starfield requires thoughtful planning. Here are a few key points to keep in mind:
- Place your outpost beacon close to your ship’s landing spot. This proximity will allow you to construct a Landing Pad with Shipbuilder, enabling the use of the Transfer Container storage item without any hassle.
- Consider the scale of your outpost. While the available area for construction is expansive, certain build items are large. Keep this in mind when designing your structures to maintain a balanced and visually appealing look.
Connecting outposts for enhanced gameplay

If you have outposts within the same system, there’s a convenient way to transfer materials between them. However, if your outposts are in different systems, manual transfer is necessary.
When expanding your outposts, it’s essential to establish a connection between them for seamless material transfer. This can be achieved by building two Cargo Links and linking them together. To complete this process, you’ll need the following materials:
- 4x Zero Wire
- 4x Beryllium
- 40x Iron
- 24x Aluminum
At each Cargo Link, you’ll find an Outgoing container and an Incoming container. Any storage containers or extractors attached to the Outgoing container will automatically send materials to the Incoming container of the linked outpost. From there, you can conveniently transfer them to a storage container or any other designated location.
Discover the Ship Building Mode in Starfield

Embarking on the thrilling journey of ship building on your Mac is now easier than ever. To start, simply consult a Ship Services Technician and choose the option “I’d like to view and modify my ships.” Once your ship appears on the screen, locate the Ship Builder key, located in the bottom right corner, and unleash your creativity. Brace yourself, however, as the menu can be overwhelming at first glance.
If you’re a beginner in ship building, don’t worry! Check out our comprehensive guide on how to effectively utilize Transfer Containers in Starfield, which will provide you with all the necessary knowledge to get started.
Leave a Reply
You must be logged in to post a comment.