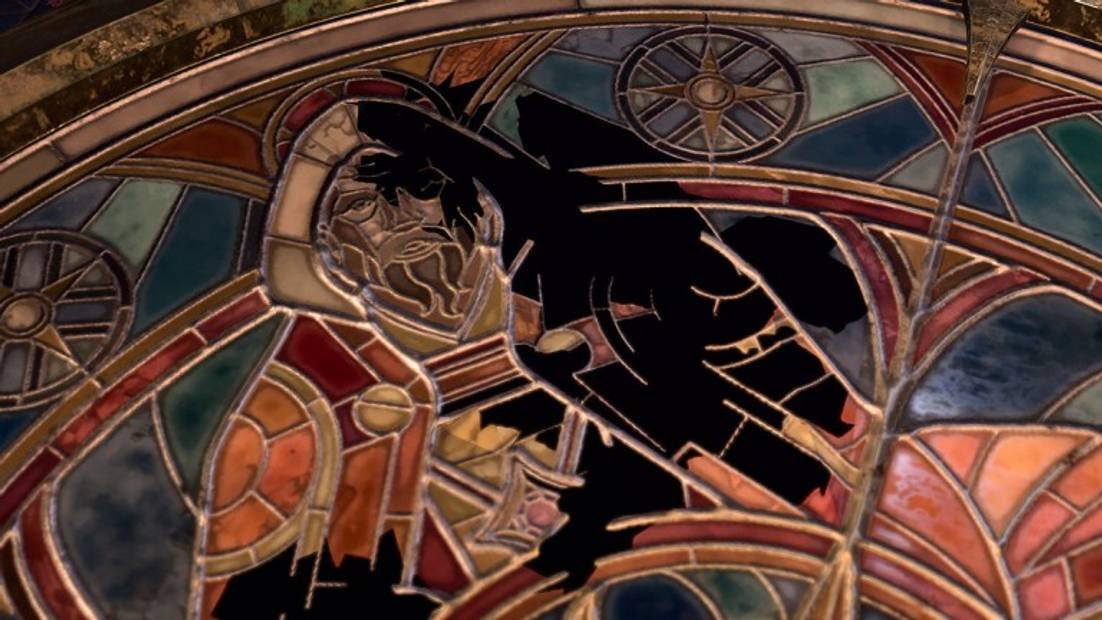
If you’re an adventurer exploring the western mountain region in Baldur’s Gate 3, you’re in for a treat! As you make your way north, you’ll stumble upon the Rosymorn Monastery, a captivating location teeming with demon cats and lively Kobolds. But what’s truly intriguing is the room on the upper floors, boasting a mesmerizing stained glass window that showcases the four esteemed Dawnmasters, the revered guardians of the Monastery. Is this exquisite decoration purely ornamental, or is there a well-kept secret waiting to be unveiled? It’s time to unveil the mystery and discover how to solve the Stained Glass puzzle to acquire the coveted Dawnmaster’s Crest in Baldur’s Gate 3.
Unveiling the Secrets: Locating Ceremonial Weapons and Solving the Stained Glass Puzzle in BG3
In order to obtain the highly coveted Dawnmaster’s Crest, your quest begins with procuring the four ceremonial weapons and carefully placing them on their designated pedestals. These pedestals can be found scattered throughout the Monastery. As each weapon is aligned with its corresponding Dawnmaster, a magical reaction occurs, causing the weapon and the surrounding crystals to emit a radiant blue glow.
Securing the Dawnmaster’s Crest is not just a mere deed, but a crucial step in advancing the “Find the Blood of Lathander” questline. For those who have yet to embark on this quest, fear not! You can initiate it by thoroughly exploring the lower sections of the Rosymorn Monastery, particularly around the imposing statue near the main entrance.
Discovering the Stained-Glass Window
To track down the elusive room with the Stained Glass window, you must ascend to the upper floors of the Rosymorn Monastery. The most convenient route is through a boarded-up hole in the wall near the Rosymorn Monastery waypoint.
Scale the cliff side with determination and make your way toward the Monastery. Swiftly dispatch the wooden boards obstructing your path, but be cautious – the ensuing room is infested with Gremishkas, formidable foes that eagerly await your arrival. Once victorious, proceed through the grand double doors situated on the eastern side of the room and follow the northern path that unfurls before you. It is within this path that the room housing the captivating Stained Glass window awaits. You may refer to the accompanying map for precise directions:

If you’re looking to obtain the Ceremonial Longsword in your game, you’re in luck! This powerful weapon can be found in a specific location. To get your hands on it, follow these steps:
1) Location of the Ceremonial Longsword
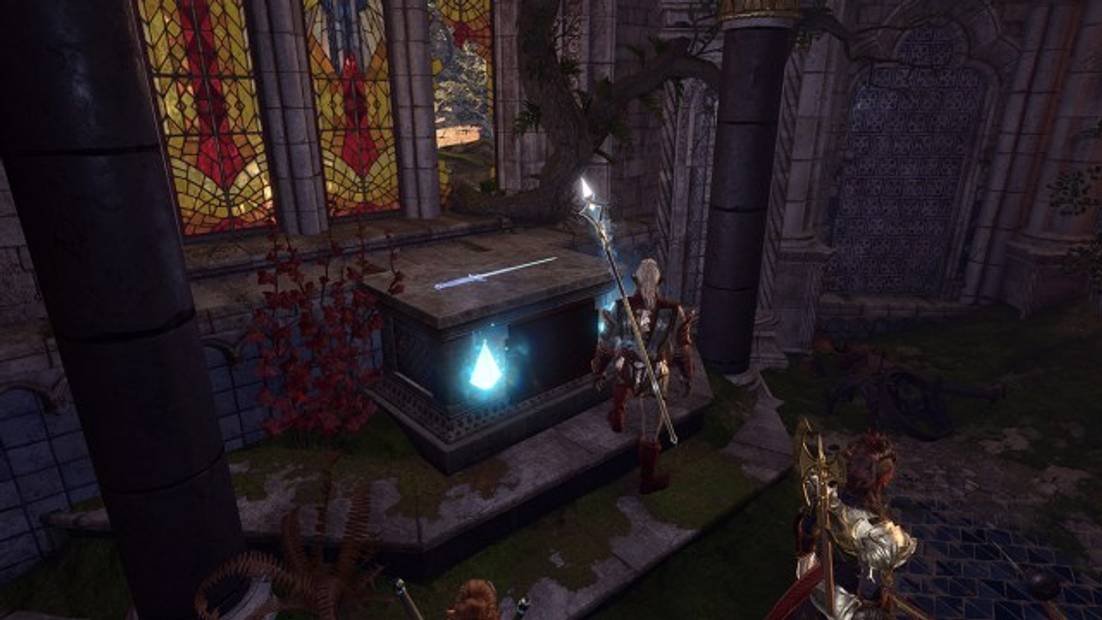
When it comes to finding the Ceremonial Battleaxe, you’ll need to venture a bit further. Unlike the Longsword, this weapon isn’t sitting conveniently in its rightful place upon entering the room. You’ll have to put in a little effort to locate it, but fear not, for the thrill of the hunt is part of the joy of this quest.
2) Where to find the Ceremonial Battleaxe
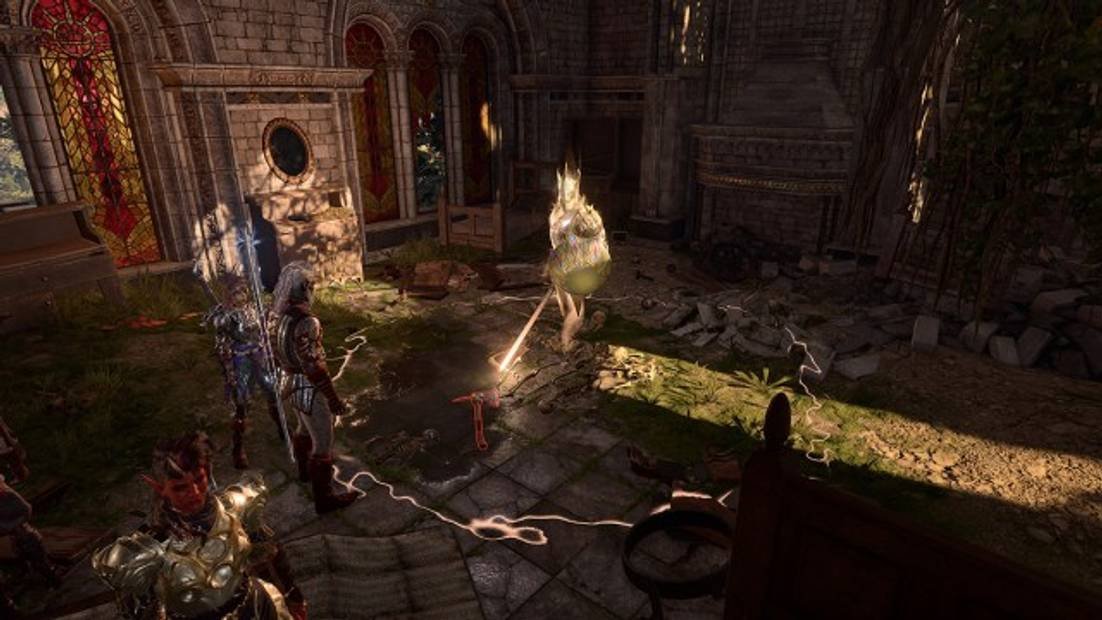
If you’re on the hunt for the Ceremonial Battleaxe, you’ll find it at the precise coordinates of (X:103, Y:45) on the same floor where the stunning stained glass is located. It’s just waiting to be discovered and wielded.
To reach the Battleaxe, start by heading south from the stained glass area. Keep going until you come across a sizable hole in the floor. Leap over this obstacle with finesse and continue walking towards the east. Soon enough, you’ll stumble upon a locked enchanted door. Fear not, for your trusty lockpicking skills will grant you access to the mysteries beyond.
Inside the room, you may encounter a few pesky beds obstructing your path. If you’re feeling destructive, go ahead and demolish them. Otherwise, put your agile feet to work and deftly jump over them to swiftly move through the room.
Alternatively, if you’re in the mood for an adventurous detour, you can take a leap of faith through the southeast window of the intriguing stained glass room. From there, follow the path that leads you outside. This path will ultimately guide you to the window of the room where the Ceremonial Battleaxe awaits.
Upon entering the room, be prepared to face a Guardian of Faith sentry fiercely guarding the Ceremonial Battleaxe. This formidable opponent won’t part with the axe without a fight. Fortunately, defeating it is not an arduous task. Just make sure to position yourself outside of the radiant circle it emits. From a safe distance, rain down arrows upon the Guardian until it crumbles and yields to your might.
3) Ceremonial Warhammer Location
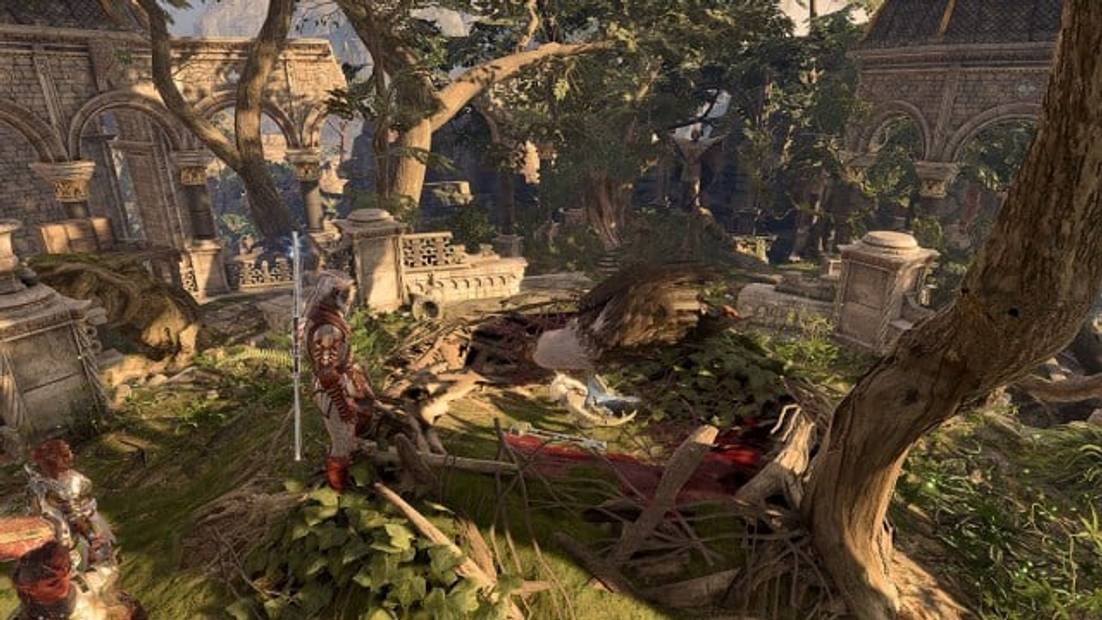
Are you ready for an epic quest? If you’re brave enough to face the challenges that lie ahead, then gear up and get ready to obtain the legendary Ceremonial Warhammer. This powerful weapon resides within the majestic Eagle’s nest, perched atop the roof of the Monastery.
For those daring enough to attempt the direct approach, be prepared for a fierce battle. The Eagle mother fiercely guards the Warhammer, and taking it without a fight is nearly impossible. However, if you possess the skills of a master thief, you may be able to snatch it without alerting the watchful eye of the Eagle. But let’s face it, not all of us are stealthy enough for such daring feats.
When I embarked on this quest, I tried everything from stealth to diplomacy to secure the Ceremonial Warhammer peacefully. However, fate had different plans for me. In the end, I had no choice but to take up arms and confront the Eagles head-on. It was a tough decision for my Druid, who had always cherished and respected all creatures. Nevertheless, sometimes sacrifices must be made in the pursuit of greatness.
Location of the Rusty Mace
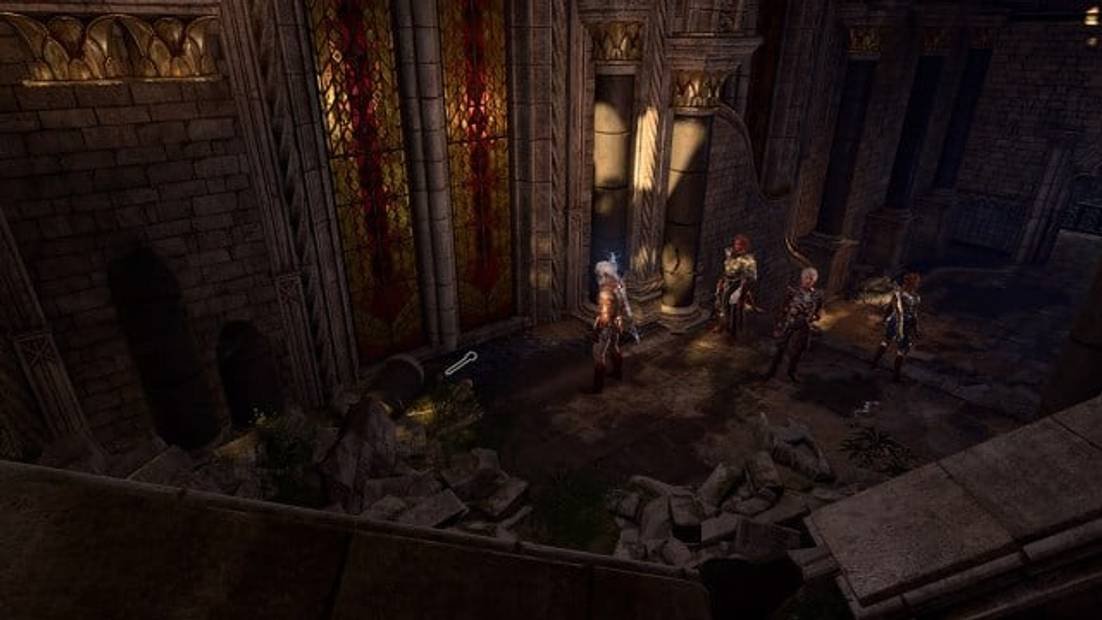
If you’re on a quest to collect powerful and legendary weapons, the Rusty Mace might not seem like an obvious choice. However, this worn and weathered weapon holds its own significance. Located on the ground floor of the Monastery at coordinates (X:87, Y:32), the Rusty Mace can be found next to a skeletal remains.
To reach the Rusty Mace, you can enter the Monastery through the main entrance and head towards the north. Along the way, you’ll come across a magnificent ‘Blood of Lathander’ statue. Keep going east, and you’ll spot an oak door on your right. Once inside that room, the Rusty Mace awaits you.
If you prefer a different approach, you can access the room by demolishing the cracked wall on the eastern side. To find the cracked wall, make your way to the rooftop around the Eagle’s nest and descend the stairway. You’ll know you’ve arrived in the right area when you encounter a talking bust shouting at you.
Achieving the Perfect Placement
Now that you’ve secured the four ceremonial weapons, it’s time to showcase their significance. Each weapon has its designated pedestal, clearly marked by stained glass patterns on the ground. To place the weapons in their rightful spots, select each weapon from your inventory, click “Throw,” and aim for the corresponding pedestals.
- Ceremonial Longsword – northwest pedestal
- Ceremonial Battleaxe – southwest pedestal
- Ceremonial Warhammer – northeast pedestal
- Rusty Mace – southeast pedestal
As soon as the weapons are positioned correctly, a secret opening in the wall will be revealed on the north side of the room. Inside, you’ll find a pouch containing the coveted Dawnmaster’s Crest.
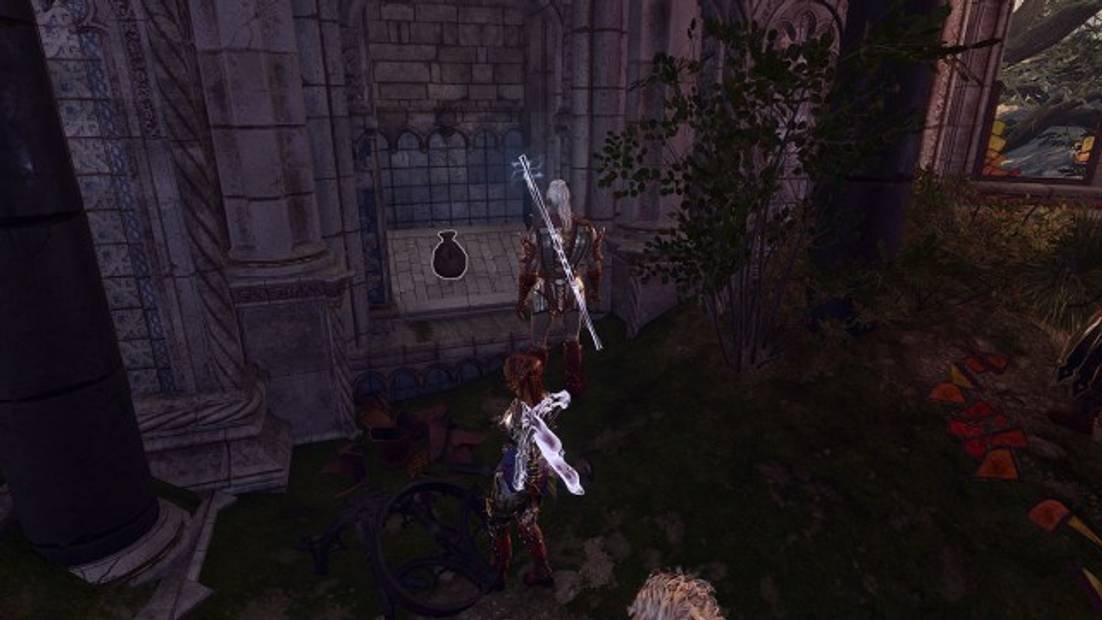
Are you ready to embark on an epic quest in Baldur’s Gate 3? As you journey through the game, you’ll uncover powerful artifacts and weapons that will aid you in your battles. One such legendary weapon is the Blood of Lathander mace, and we have a comprehensive guide to help you acquire it.
But before you can wield the power of the Blood of Lathander, you need to make sure you have the Dawnmaster’s Crest. This key item is essential for unlocking the mace’s true potential. Our guide will show you exactly how to obtain the Dawnmaster’s Crest and guide you to its rightful spot beneath the magnificent Rosymorn Monastery.

Leave a Reply
You must be logged in to post a comment.