As you venture further in your role as an interstellar cowboy on the thrilling Freestar Collective questline “On the Run,” you’ll come face to face with the formidable leader of the First, Marco Graziani. Located on the moon Codos, which orbits Akila, you’ll find him at the renowned Red Mile cantina. However, when the moment of confrontation arrives, you’ll have the option to approach it in a couple of different ways. If you’re pondering whether to accept Marco Graziani’s bribe or eliminate him in the exciting Starfield mission “On the Run,” here’s everything you need to know.
Marco Graziani in “On the Run” – A Freestar Collective Mission in Starfield
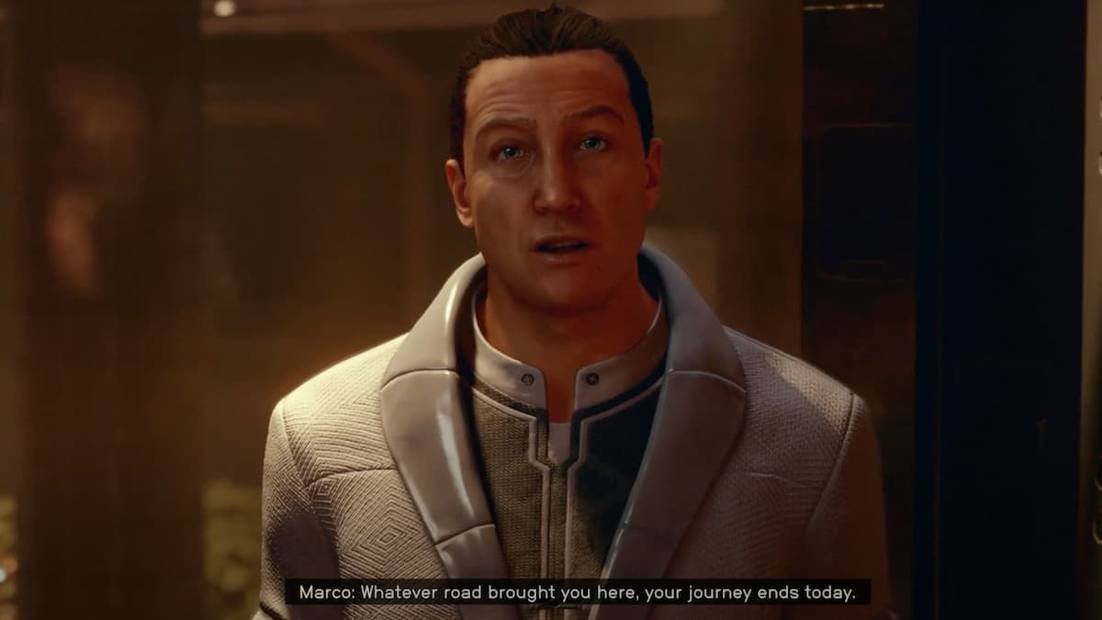
Upon reaching Marco Graziani’s secret lair in Fortuna on Codos, within the Cheyenne system, you’ll have the choice to either [Attack him] or [Show Badge] during your initial dialogue with him in Starfield. Of course, launching an attack will ignite a massive conflict that will pit you against Marco and his well-armed henchmen.

If you choose to [Show Badge] and then select [I want details of the First’s operations, including who hired you.], Marco will propose a deal. In order to obtain the information you seek, Marco asks the Freestar Rangers to refrain from interfering with the activities of the First crime syndicate.
At this point, you have several options:
- Accept the bribe by choosing [That works for me.]
- Refuse the bribe and demand the information with [No deals. Tell me what I want to know or face the consequences.] or [Attack].
If you choose to accept Marco’s bribe:
If Sarah Morgan is accompanying you, she will express disapproval of your decision to make a deal with the bandit overlord. However, the Fortuna area will become neutral territory for you, granting you unfettered access. Most importantly, Marco will reward you with the Encrypted Slate, which you will need to bring to the Freestar Collective’s cryptology expert, Alex Shadid, for decryption in the next step of the quest.
If you refuse Marco’s bribe:
If Sarah Morgan is with you, she will approve of your choice to reject the bribe. Marco will launch into a spiel about the corrupt nature of the Council of Governors and their lack of concern for the Freestar Collective. In this scenario, you can respond with [You’re not persuading me to abandon my duty.], [I’m not doing this for them. I’m doing it to protect innocent people.], or [No more stalling, Marco. Either talk or get shot, your choice.] All options will lead to a confrontation with the crime lord.
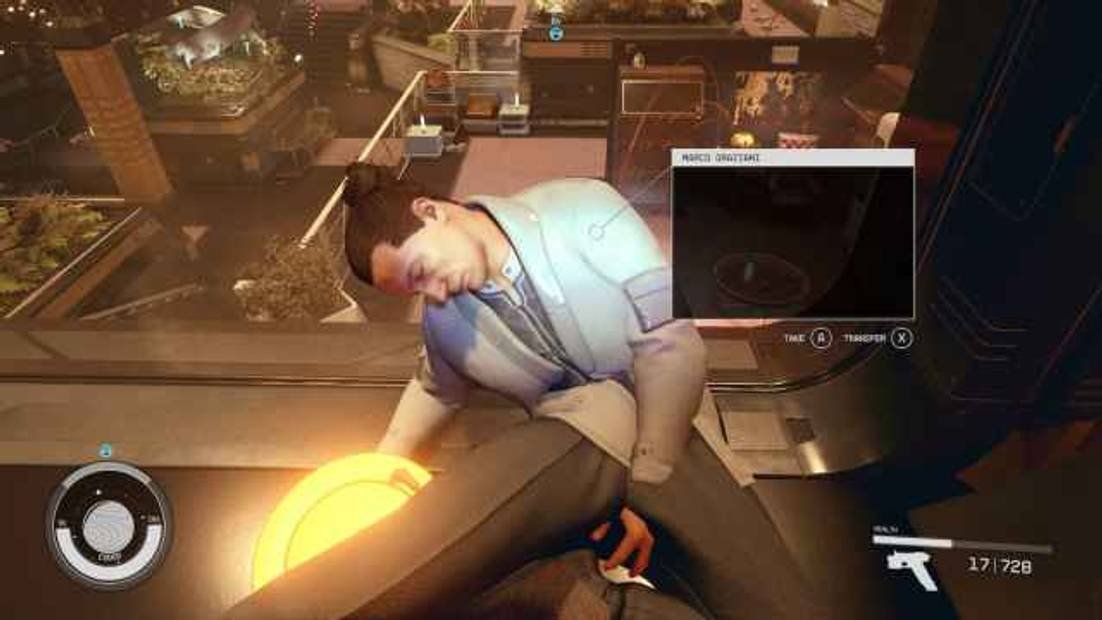
Fortunately, after the confrontation, you will have the opportunity to loot the Encrypted Slate from Marco’s body, as well as his Keycard.
Based on our experience, we recommend refusing the bribe and eliminating Marco and his cronies. This choice not only grants you Marco’s Keycard and rewards you with greater XP and loot, but it also benefits the entire galaxy, as Marco is a dangerous individual. Marco’s loot includes:
- Calibrated Equinox Laser Rifle
- 3KV LZR Cartridge ammo x 36
- Credits x 874
- Marco’s Keycard
- Encrypted Slate
Fortunately, defeating Marco himself is not particularly challenging, but be cautious of his armed guards and automated turrets due to their sheer number.
In this intense battle, you will be facing approximately twelve guards and six turrets. But fear not! With proper preparation, strategic use of cover, and a well-stocked inventory of Med Packs, sturdy armor, and formidable weapons, victory is within your reach.
However, if you’re looking for an extra edge to turn the tide of the war in your favor, we’ve got a valuable tip for you.

Master the Fortuna Lair by Disabling or Commanding the Turrets
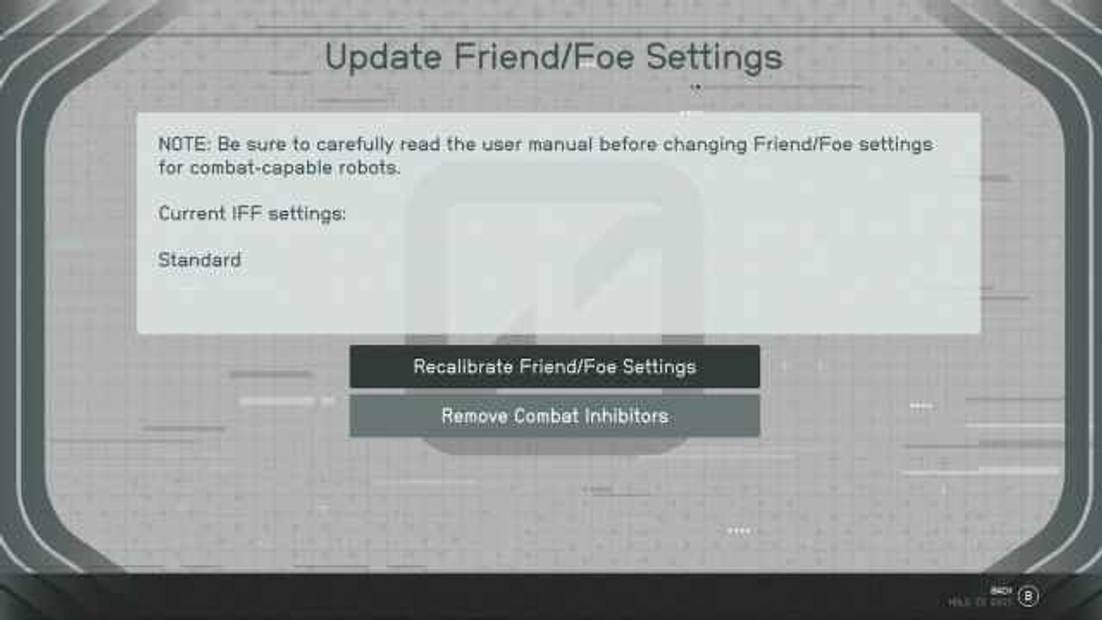
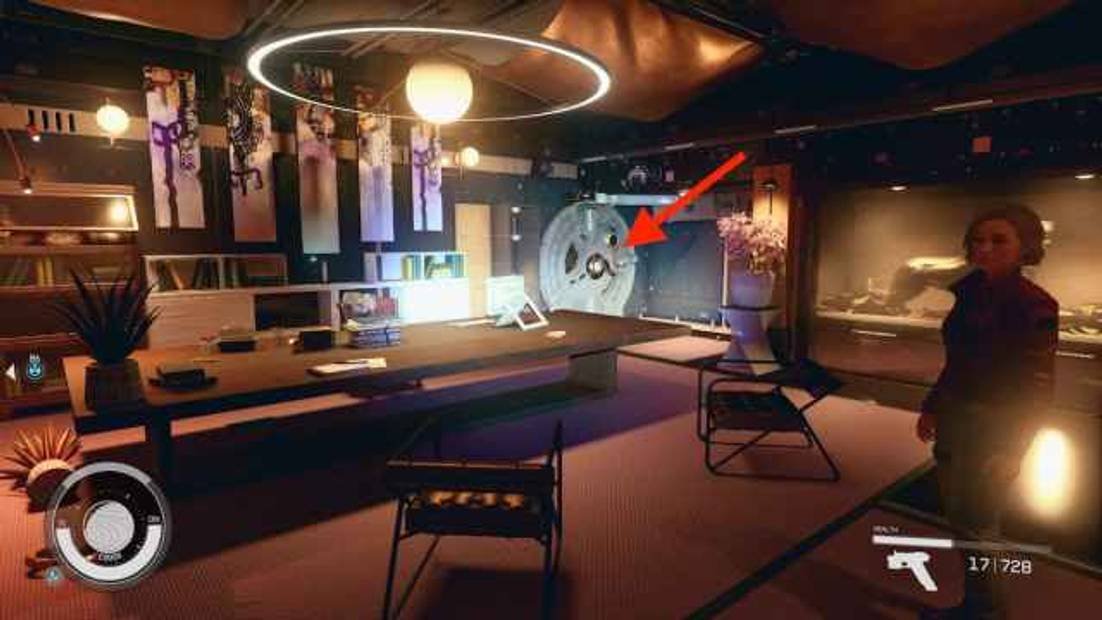
In your quest to conquer Marco Graziani’s hideout and triumph over his army of criminals, you can gain a significant advantage by taking control of the turrets or deactivating them altogether. By adjusting their friend/foe settings through the Remote Turret Control Computer terminal located at the rear of his room, you can manipulate the turrets to serve your purpose. Deactivating the turrets ensures that you can engage in battle without the fear of getting injured by their indiscriminate fire.

However, there is an alternative approach to dealing with the enemies during the fight – you can take control of the turrets. Although you won’t have direct control over them, they will target Marco Graziani’s accomplices instead of attacking you. It’s important to note that if the turrets eliminate an enemy without you dealing any damage, you won’t earn XP for the kill. Nevertheless, utilizing the turrets is an effective strategy to not only survive the onslaught of enemies, but also to successfully defeat Marco if you decide to go that route.

Discover the Treasures Unlocked by Marco Graziani’s Keycard
Once you get your hands on Marco Graziani’s highly coveted Keycard, you gain access to a world of hidden wonders behind the locked door in his office. Prepare yourself for an incredible loot haul that consists of three weapon cases and an ammo box brimming with valuable supplies, including:
- 7.77mm Caseless ammo x 5
- Beowulf Rifle
- .43 MI Array ammo x 16
- Modified Magshot Pistol
- Disassembler Shotty, Rare Shotgun
- Europium x 12
- Copper x 4
- Caseless Shotgun Shells ammo x 30
- Sealant x 3
- Calibrated Deepcore Space Helmet
- Shrapnel Grenade x 1
- Toxic Gas Mine x 1
- Fragmentation Mine x 1
- Credits x 2808
Unlock the door and claim your hard-earned rewards with Marco Graziani’s Keycard!

If you’re diving into the exciting world of Starfield, you may be curious about the loot you can find. Keep in mind that the loot in Starfield is mostly randomly generated, so your findings may differ slightly from what we discovered. However, rest assured that you’ll still have a rewarding experience with some decent loot.
Additionally, don’t forget about Marco’s Keycard. This valuable item opens a few other doors in Fortuna, leading you to more locked safes and additional loot. Explore these hidden areas for even more treasures.
Now, it’s time to wrap up our guide on whether you should accept Marco Graziani’s bribe or confront him in the On the Run quest in Starfield. For more helpful tips and insights, check out our articles on targeting engines and removing environmental damage from your spacesuit. Remember, Twinfinite is your go-to source for all things Starfield.
About the author
Dylan Chaundy
Dylan Chaundy is a dedicated Senior Writer at Twinfinite with over a decade of experience in the games media industry. Specializing in horror, RPGs, shooters, Roblox, indie titles, and movies, Dylan’s passion for gaming shines through in his work. When he’s not writing, you can find him enjoying a good book, indulging in pizza, or skateboarding – ideally, all at the same time. Dylan holds a degree in English Literature from Aberystwyth University, Wales, and believes that FTL may just be the most perfect game ever created.


Leave a Reply
You must be logged in to post a comment.