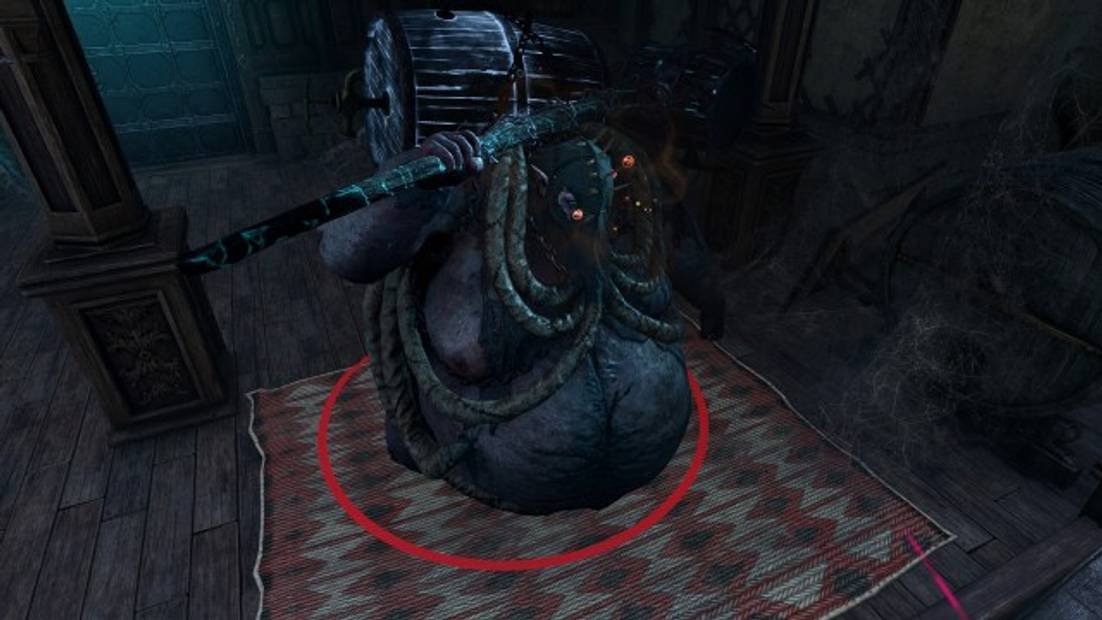
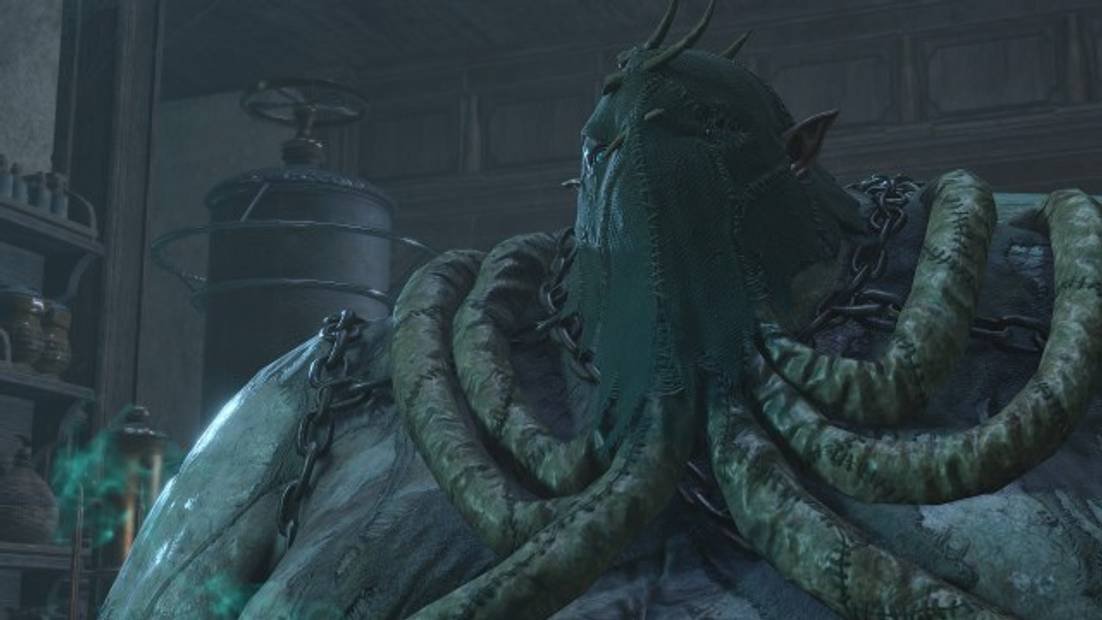
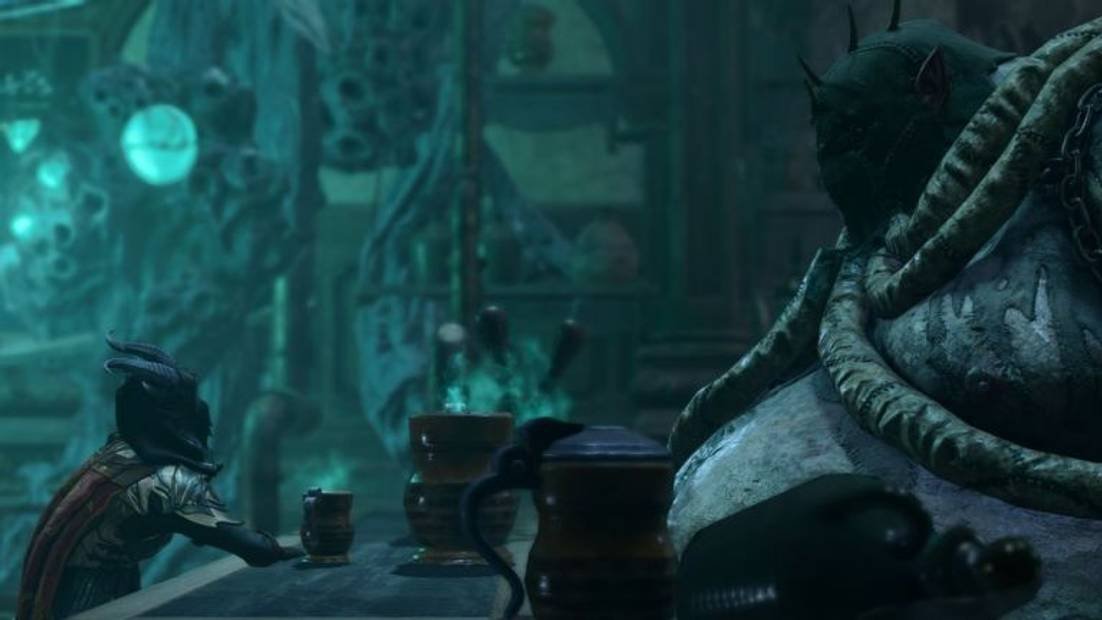
As you venture into the dark and mysterious realms, you stumble upon a village plagued by a haunting curse. Amidst the eerie atmosphere, one particular villager stands out – Thisobald Thorm. This enigmatic figure, son of renowned brewer Ketheric Thorm, reigns as the master of libations at the renowned establishment, The Waning Moon.
If you approach him, Thisobald Thorm will initiate a conversation and extend an invitation to partake in a drink. The question lingers: should you accept his offer?
Indulging in a Drink With Thisobald Thorm: A Tale of Risk and Reward

If you’re wondering whether or not you should have a drink with Thisobald Thorm, the answer is a definite yes! Sharing a drink with Thisobald Thorm offers you several benefits:
- You won’t experience any negative effects
- You’ll gain the same amount of experience points as if you had defeated him
- You’ll learn about a secret relic
- It will inspire both Lae’zel and Karlach if they are in your party, making it well worth your while
During this interaction, you have two options: drink (or at least pretend to) or fight. However, refusing to drink or failing to do so will result in having to fight Thisobald Thorm, who is a formidable opponent with strong defensive capabilities.
First, Thisobald Thorm will ask you to drink. You can choose to drink and then roll a Constitution save to avoid getting “drunk.” Alternatively, you can roll a Sleight of Hand save to trick Thisobald into believing that you have consumed the drink.
Afterwards, Thisobald will ask you to tell him a story, which requires passing a DC16 Performance check. If you fail, you’ll have a second chance to make a DC18 Deception check. If you successfully tell him a story, you’ll then be able to ask him two questions. Failing both checks will result in him attacking you.
This process will be repeated two more times, meaning you’ll need to pass a total of six skill checks, all of which have high difficulty ratings, typically around 18. Failing a Sleight of Hand check will cause Thisobald to attack you. Unfortunately, even after multiple attempts, we were unable to fail a single Saving Throw. Nevertheless, it’s best to try to succeed in all of them for your own safety.
If you want to improve your odds in this encounter, we highly recommend solving the plaque puzzle in the town square, which is not too far from the Waning Moon Inn. Doing so will grant you significant buffs to your skill checks!
Strategies for Defeating Thisobald Thorm

Tired of constantly failing your rolls in the game? It’s time to step up your game and face the formidable foe, Thisobald! Known for his tank-like abilities and Regurgitation powers, Thisobald can turn the elements against you. For instance, if he is attacked with fire elements, his Fiery Regurgitation ability will unleash fiery attacks and create a burning terrain.
However, there is a way to defeat him. Thisobald Thorm is vulnerable after using his three area-of-effect drinking spells, taking double damage. Strategically control the elements he uses against you by attacking him with those same elements. Have a character resistant to the element you use act as a tank, while the rest of your party deals long-range damage.
Alternatively, you can take a stealthy approach and attack Thisobald from the shadows. Position yourself on the bridge walkway above him for a tactical advantage. Karlach is a recommended choice for this fight, as she possesses both endurance and offensive capabilities. Prioritize defeating the patrons first until Thorm becomes Blacked Out. This condition occurs when he overdrinks for a few turns, stripping him of all resistances.
Rewards for defeating Thisobald Thorm

After the intense battle with Thiosbald, don’t forget to search his body for a key. This key will grant you access to the locked door located behind the bar. Behind that door, a treasure trove awaits:
- Unseen Menace (a powerful two-handed Pike)
- Rat Bat (a formidable two-handed Greatclub)
- Various alchemy items
- A valuable recipe for crafting Purple Worm Poison
But that’s not all! Keep an eye out for a secret loose floorboard hidden behind the bar. If your Perception skill is high enough, you’ll be able to uncover it. Inside, you’ll discover a crucial item needed to complete the “He Who Was” quest. Make sure to grab it!


Leave a Reply
You must be logged in to post a comment.