Are you an avid player of Baldur’s Gate 3, looking to unleash your destructive power and demolish everything in your path? Well, sometimes you may come across seemingly indestructible sturdy structures that just won’t budge. Fear not! There is a way to break through these formidable obstacles. All it takes is a combination of brute force and strategic thinking.
So, let’s dive into the world of toughness in Baldur’s Gate 3 and learn how to overcome these challenging structures.
What does toughness mean in Baldur’s Gate 3?
Toughness refers to how objects or structures in Baldur’s Gate 3 respond to damage inflicted by characters. The higher their toughness, the more damage you’ll need to deal in order to make a dent. Any damage below the threshold is completely nullified, while any damage exceeding it is dealt in full.
For example, imagine you encounter a sturdy Guardian Statue in the Underground Passage. Its toughness level is 10. If you attack it and roll for 9 points of damage, the statue will remain unscathed. However, if you roll for 10 points of damage or more, the statue will lose all 10 health points. In other words, once you surpass the threshold, toughness no longer mitigates the damage.
Toughness Levels in Baldur’s Gate 3
In Baldur’s Gate 3, structures and objects can have one of the following toughness levels:
| Toughness Level | Indicator | Damage Threshold | Examples |
|---|---|---|---|
| No Toughness | No toughness indicator | 0 damage | Shabby Doors |
| Sturdy | “Sturdy” text and an icon with a wall and a small shield | 10 damage or more | Guardian Statues |
| Medium Toughness | “Medium Toughness” text and an icon with a wall and a big shield | 22 damage or more | The Selune Chest |
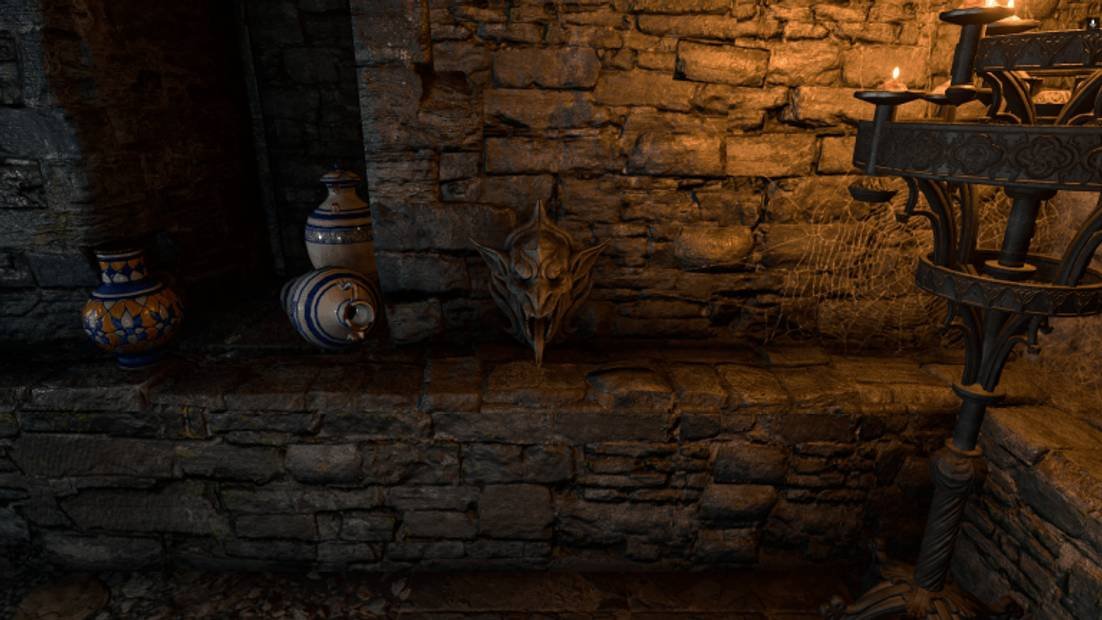
| Greater Toughness | “Greater Toughness” text and an icon with a wall and a bigger shield | 50 damage or more | Gargoyle Heads in the Dank Crypt |
If you want to acquire a thorough understanding of a particular structure’s capabilities, examine it closely. Right-click on it with your cursor or select it using your controller and open the interaction menu. There, you will find all the information you need, including resistances and weaknesses of the structure.

The Ultimate Guide to Breaking Sturdy Walls and Structures in Baldur’s Gate 3
In the world of Baldur’s Gate 3, mastering the art of breaking sturdy walls and structures is crucial for your success. Luckily, there is a strategic approach to overcoming these obstacles. By identifying their weaknesses and using the right weapon type or element, you can deal devastating damage and reduce their health rapidly.
Here’s how you can break sturdy walls and structures in Baldur’s Gate 3:
- Examine and Identify Weakness: Before attempting to break a structure, examine it closely to find its weakness. This can be done by inspecting the Resistances tab, which provides valuable information about the structure’s vulnerabilities.
- Choose the Right Weapon Type or Element: Based on the information gathered, select the weapon type or element that the structure is weak against. For example, if the structure is susceptible to Bludgeoning attacks, opt for a hammer, club, or mace to deal double the damage.
- Unleash Devastating Attacks: Armed with the knowledge of the structure’s weakness, strike with precision. Focus your attacks using the chosen weapon type or element to maximize the damage and bring down the structure swiftly.
Understanding the Resistances tab:
- Yellow Border: A structure with a yellow border is immune to that specific type of attack. Avoid using that type of weapon or element.
- Two Blue Arrows Pointing Up: Structures with two blue arrows pointing up take half the damage from that particular attack. Adjust your strategy accordingly and consider using other attacking methods.
- One Red Arrow Pointing Down: When you see a red arrow pointing down, take advantage of it. Structures with this symbol take double the damage from that specific attack. Exploit this weakness to your advantage and deal devastating blows.
- No Icon: If there is no icon present, the structure will take unmodified damage from the attack. Use this opportunity to inflict regular damage.
Unlocking the ability to break sturdy walls and structures is truly a game-changer in Baldur’s Gate 3. It opens up new possibilities and shortcuts, allowing you to bypass lengthy processes and access valuable items. Let your inner explorer shine as you venture through the game, and remember to harness the power of destruction wisely.
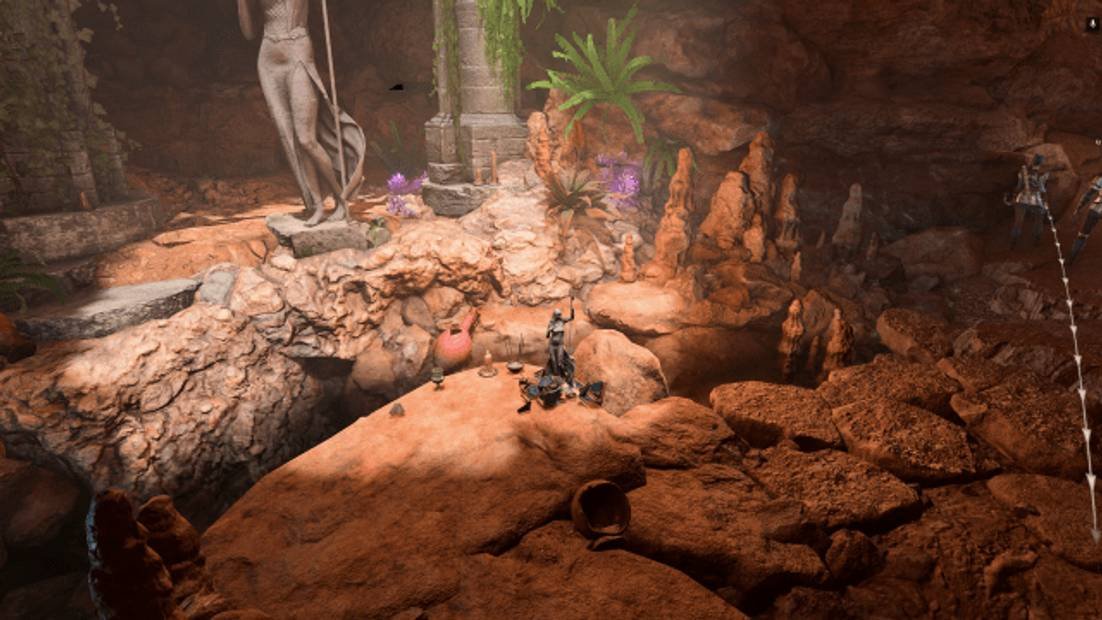
Writing this guide was a thrilling adventure in itself, and there’s nothing more satisfying than blowing up a Selune Chest instead of going through the traditional methods. In the end, all the items were still there, and I even captured a cool photo to share with you. Happy demolishing!
Leave a Reply
You must be logged in to post a comment.