
Unraveling The Murder Investigation in Baldur’s Gate 3
Attention all adventurers! There is a pressing matter at hand – a series of murders has shaken the city. But fear not, for you have the power to crack this case and save all potential victims. Join the thrilling Murder Investigation quest in Baldur’s Gate 3, where you will uncover a web of conspiracy and put an end to the reign of the murderers.
For those who have completed the Open Hand Temple Murder Investigation, you will find yourself equipped with a list of potential victims. You now have the freedom to navigate the Lower City as Valeria, the fearless flying elephant detective, and delve deeper into the unraveling conspiracy.
To ensure you experience the quest to its fullest, I have prepared a table of contents in the recommended order. However, if you prefer a more direct approach, you can choose to confront the murderer head-on and stop them in their tracks. This will provide you with the necessary information to proceed to the Temple of Bhaal and meet the esteemed Murder Tribunal.
If this sounds like the ideal path for you, feel free to skip ahead to the “Save Cora Highberry” section and make a bold move.

- Chef Roveer / Devella
- Nesha Leesha
- Alexander Rainforest
- Figaro Pennygood
- Cora Highberry
- Franc Peachtree
- Tombstone Store / Tribunal Entrance
Discovering Devella’s Location in Baldur’s Gate 3
Are you ready to unravel the mysteries of Baldur’s Gate 3? One of the key characters you’ll want to find is Devella. She’s an important person who shares your belief in a sinister conspiracy. You can find her waiting at the Elfsong Tavern in the Lower City. Interestingly, she is closely associated with our first murder target, Chef Roveer.
As you enter the Elfsong Tavern, turn right and you’ll come across two sturdy guards. Approach them and mention that Valeria has sent you to speak with Devella. Once they acknowledge your request, the path to the crime scene upstairs will be open for you.
However, it’s important to note that Act 3 of the game has been known for its bugs. Therefore, it’s recommended to save your progress before proceeding. In case Gauntlet Devella is not present in the crime scene, reload your saved file with hopes that she will make her appearance.
Once you enter the crime scene and initiate a conversation with Devella, make sure to inform her about the list. Failing to do so might exclude her from your quest.
After informing Devella about the quest, she will take it upon herself to protect the wealthier individuals. Now, it is our responsibility to ensure that the Lower City targets are aware of the situation. But before you rush off, take a moment to inspect the wine rack tucked away in the corner of the room. If you happen to pass a perception check, you’ll notice something unusual about one of the wine bottles.

Successfully passing a medicine check in the game will unveil a sinister plot – the realization that the medicine you’ve just taken has been poisoned. Its name will mysteriously transform into Master Metzil’s Karabasan Gift. This intriguing twist doesn’t directly update any information in your journal, but it serves as a clever foreshadowing of events to come.
Rescuing Chef Roveer – A Step-by-Step Guide
To rescue Chef Roveer, your next objective is to locate them in the Elfsong Tavern. Begin by heading to the main floor of the tavern, and you’ll find the kitchen where Chef Roveer is located. The kitchen is conveniently situated next to the stairs, ensuring easy access and navigation.

Warning him about the impending murder attempt is futile, as his sole concern lies with the rats inhabiting the basement.
Descending the stairs into the basement, you’ll encounter several rats, each with a mere 1 HP. This particular area presents a fantastic opportunity to unleash your area-of-effect attacks. For instance, I had Shadowheart leap into action, summoning her Spirit Guardians and positioning herself amidst the rodents.

Take a quick trip upstairs to deliver the latest news to Roveer, and you’ll be pleasantly surprised by his newfound friendliness. In appreciation for your diligent reporting, he generously hands you a handsome sum of 300 gold. Furthermore, Roveer assures you that he will remain on high alert, using his keen dwarven eyes to keep a lookout for any potential wrongdoers.
While you’re already downstairs, seize the opportunity to uncover the hidden treasure belonging to the Emperor. Behind the wall of the wine cellar lies his secret stash. You can locate the button to access this hidden hideout on the far left, cleverly concealed among the wine racks. However, proceed with caution, as venturing too deep may inadvertently trigger a step in the main quests. As a cautious strategist myself, I prefer to save this thrilling discovery until I’ve completed all the other exciting side quests.
The Rescue Mission: Saving Nesha Leesha
The next task on your list is to rescue Nesha. Fortunately, this is a relatively straightforward endeavor. Head south and you’ll come across a charming tavern, adorned with a porch cleverly crafted from the bow of a boat. Keep an eye out for Nesha, who can be found standing near the entrance, bearing an uncanny resemblance to a diligent waitress. Take a moment to approach her and kindly deliver the warning.
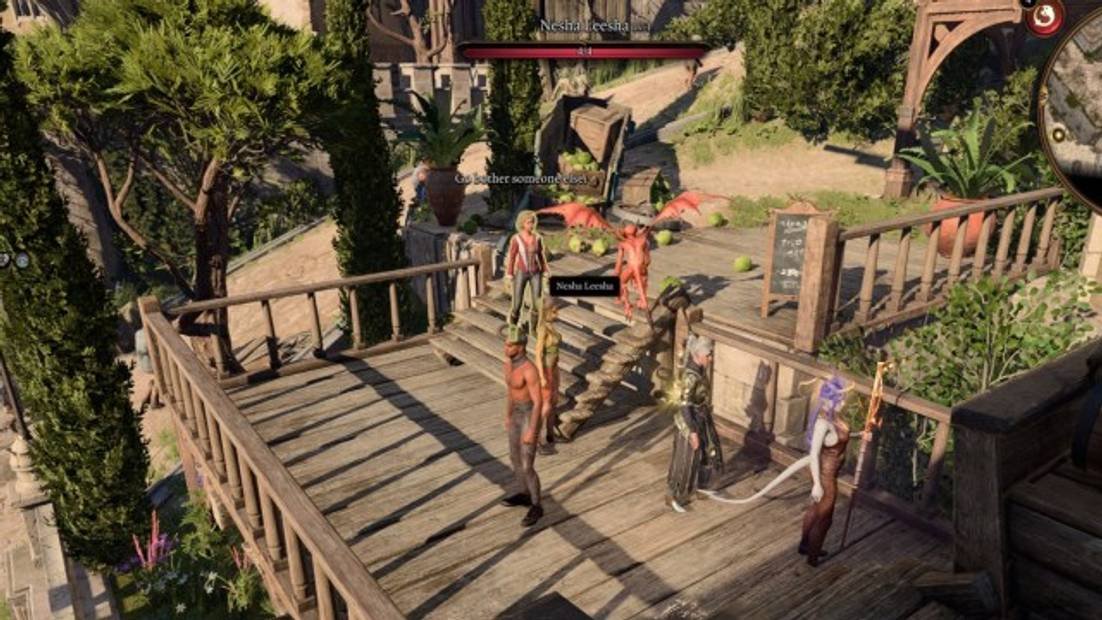
Prepare to engage in a thrilling adventure! In order to convince her, you’ll need to roll a 15 or higher. Remember, the odds are in your favor, Nesha! If you succeed, she’ll promptly make her exit. Bravo!
Uncover the Mystery of Alexander Rainforest
It’s time to shift our focus to Alexander Rainforest, although it may seem futile at first, as he has met an untimely demise. However, fear not, for there is still something worthwhile to be found within his abode – the coveted Dribble the Clown quest!
As for gaining access to his house, I personally opted for the daring route of lockpicking the front door. Naturally, this caused some commotion, but with the nifty spell Dominate Person at my disposal, any objections were swiftly silenced. Alternatives such as Polymorph or Banishment could have achieved the same result. Patience proved key, as I allowed the effects of Dominate Person to wear off, ensuring that unwelcome guests wouldn’t follow me inside Alexander’s residence.

Another exciting option for gaining access to Alexander’s backyard is by utilizing the Misty Step or Fly abilities. Although the backyard is fenced off, the door leading into it is conveniently unlocked. Once inside, venture upstairs to discover Alexander’s lifeless body. Engage in a conversation with the rat present, as it will reveal that a dwarf dressed in red attire was responsible for the gruesome act.
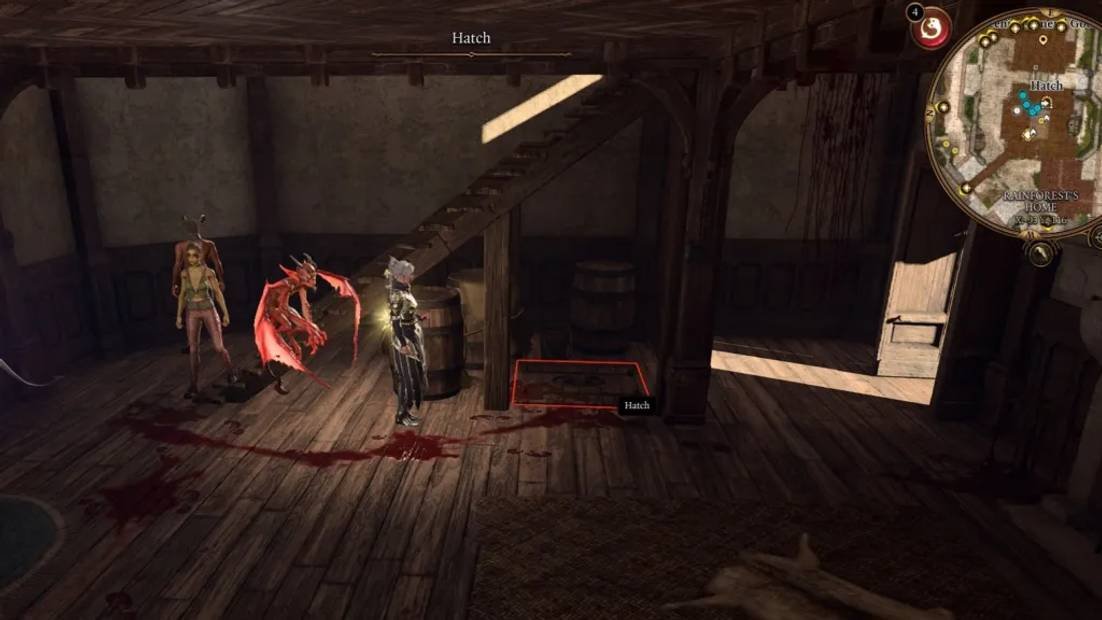
However, the true intriguing discovery lies on the first floor of the house, concealed within a hatch beneath the stairs. Enter this hidden basement area, and you’ll stumble upon two lifeless bodies. Notably, the body on the right grasps a Severed Clown Foot, which unmistakably belongs to the infamous character known as Dribbles!
Save Figaro Pennygood: A Must-Do Task
Get ready to rescue our beloved local tastemaker, Figaro Pennygood. Find him at the shop just across from the Baldur’s Gate waypoint. Speaking to him twice is essential – it’s the second conversation where you’ll get the option to inform him about being a target for murder. In case the prompt doesn’t appear, simply make a purchase from Figaro, and it should trigger the necessary dialogue.

Discover the Adventure of Saving Cora Highberry
Embark on an exhilarating quest to save Cora Highberry, the brave gnome, from danger. Begin your journey by making your way to the enchanting Wine Festival located just southwest of the Elfsong Tavern. As you arrive, you will notice Cora engaging in friendly conversation with a gnome companion and a remarkable dwarf dressed in striking red attire. Pay close attention to this intriguing coincidence…

Interacting with Cora, you quickly realize that she is in a dangerous situation. It turns out that the dwarf she is associated with goes by the name of Metzi. During your conversation, a medicine check will reveal that the wine is poisoned, hinting at a familiar modus operandi.
Be careful with your dialogue choices as Cora’s life hangs in the balance. To ensure her safety, select the first dialogue option, informing her about the poisoner targeting her. By doing so, her death will be considered an ‘unclean’ kill, driving Metzil into a frenzy. Prepare yourself, as he will retaliate by attacking you and summoning multiple copies of himself, leaving a portion of your party paralyzed.
If you have the ability to cure paralysis, now is the perfect time to utilize it. Metzil will take advantage of the situation and unleash devastating attacks, so be prepared to counter his onslaught.
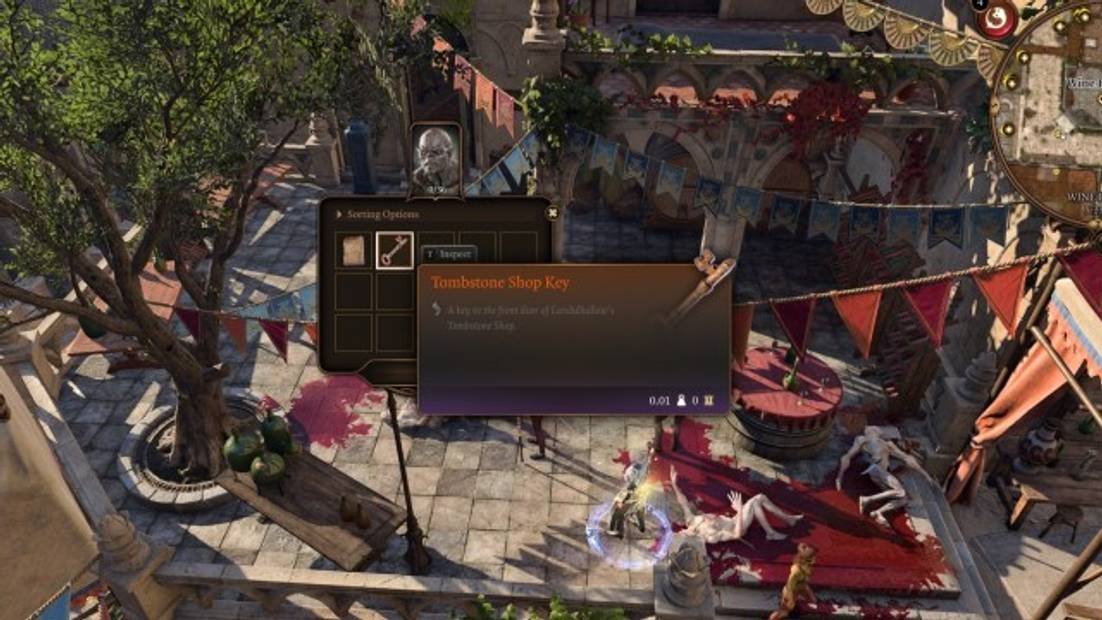
Don’t forget to thoroughly inspect each body once you’ve defeated Metzil and his doppelgangers. There are valuable items you’ll want to find, such as the Tombstone Key and the Hand Bag, which will come in handy when trying to gain access to the Tribunal. Additionally, make sure to read the notes on the body, as they will provide you with the password needed to open the Tribunal door.
Uncover the mysteries of Franc Peachtree in Balurd’s Gate 3
Franc’s house is conveniently located nearby and despite his unfortunate demise, investigating it will prove to be worthwhile.
Prepare to break through the sealed door and encounter two perception checks. Pay close attention to the planks beside the bed, as successfully passing this check will grant you access to the Peachtree Chest key.
If you succeed, head over to the bookshelf next to the desk where you’ll uncover the Peachtree Hatch key. To find the hatch, cleverly concealed beneath the Traveler’s Chest in the corner of the room, simply drag the chest away and interact with it.

If you happened to miss receiving the “Solve the Murders” quest from the floating yellow elephant, don’t worry! Passing the perception check for the bloodied note will automatically trigger the quest and reveal the locations of the victims.
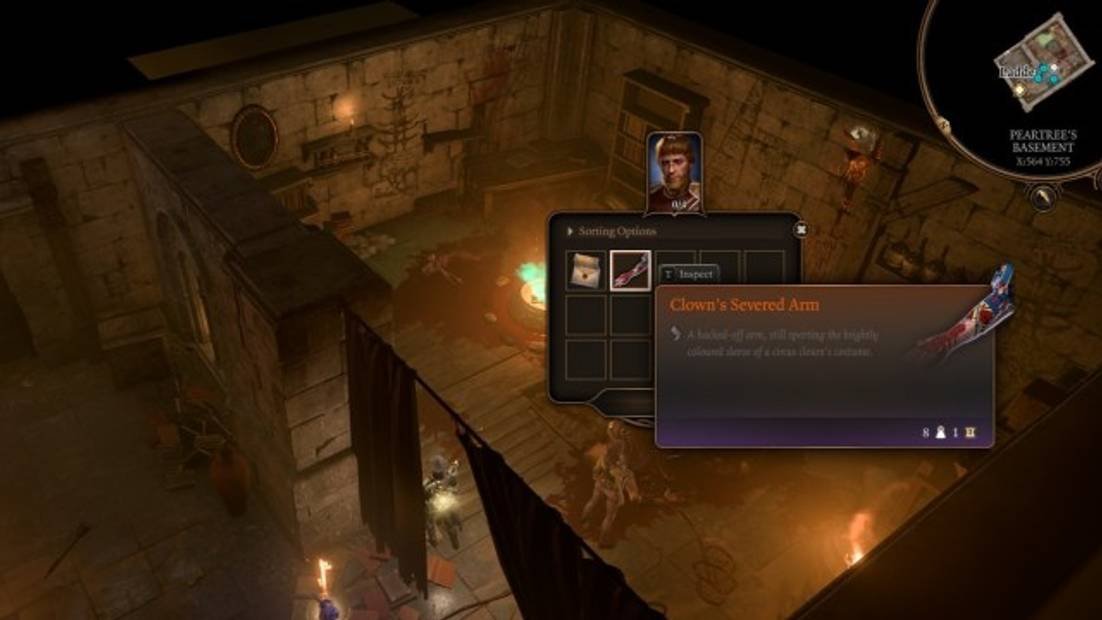
As you venture further, you will come across yet another body, and this time it’s holding Dribble’s arm. Hooray! If you followed along with my guide on solving the murders at the Open Hand Temple, then you should now have three body parts in your possession. We’re making progress, Dribbles!
As you explore the mysterious depths of the Tribunal, you’ll come across an intriguing discovery. In the adjoining room, a well-hidden safebox holds precious treasures, including a rare shortsword and two Soul Coins. However, gaining access to this valuable loot requires more than a simple search. Only those who successfully pass the perception check upstairs will obtain the key needed to unlock the safebox.
Unlocking the doors to the Tribunal
With the key in hand, along with the passcode and your wits about you, the temple of Bhaal is within your reach. Make your way to the northern section of the map, where the tombstone store beckons. Upon entering, head to the very back room where a peculiar painting awaits. Remove the painting and reveal a hidden button, a crucial piece in gaining entrance to the enigmatic Tribunal.

Prepare to be amazed! Hidden behind a seemingly ordinary wall lies a secret door, waiting to be discovered. All you need to do is press the right button, and voila! The door will reveal itself, giving you access to new realms and untold possibilities.
But wait, there’s more! Before you descend into the unknown, you must speak the magical password. Only then will you unlock the true potential of what lies below.
However, be warned – expect an epic encounter once you make your way down. Unless, of course, you have decided to align yourself with the dark forces and pledge your allegiance to Baal. It’s your choice, after all. But keep in mind that this next section of your journey will propel you forward in multiple quests, making it an adventure you won’t want to miss.
If your actions have so far prevented the rescue of Florrick, now might be the perfect time to rectify that. Take a break from your main quest and set her free from the confines of her jail cell. With her by your side, you’ll have a stronger ally in your future battles.
Leave a Reply
You must be logged in to post a comment.